How to Change Color on Photoshop: A Step-by-Step Guide
Introduction
Have you ever wished to change the color of an object in your photo? Maybe you want to experiment with different hues or correct an inaccurate color representation. Well, fear not! With the power of Adobe Photoshop, you can easily change colors and transform your images into vibrant masterpieces. In this comprehensive guide, we’ll walk you through the process of changing colors in Photoshop, unleashing your creativity and giving your photos a whole new look.
Understanding Photoshop Tools
Before diving into the color-changing process, let’s familiarize ourselves with the essential tools that Photoshop offers. These tools will be your allies in achieving the perfect color transformation. Photoshop provides a wide range of selection and adjustment options, such as the Magic Wand tool, the Color Replacement tool, and the Hue/Saturation adjustment layer. These tools allow you to precisely select and modify colors in your images.
Step-by-Step Guide: Changing Color on Photoshop
1. Selecting the Desired Image or Object
The first step is to select the image or object you want to modify. Photoshop offers various selection tools, such as the Marquee tool or the Quick Selection tool, to help you isolate the specific area you wish to change.
2. Choosing the Appropriate Color Adjustment Tool
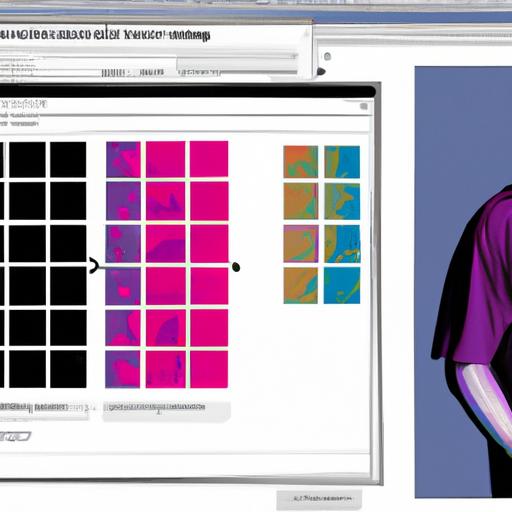
Once you’ve made your selection, it’s time to choose the right color adjustment tool for the job. Depending on your requirements, you can utilize tools like the Color Balance, Selective Color, or Replace Color adjustments. These tools offer different functionalities and flexibility in altering colors.
3. Applying Color Changes through Adjustment Layers or Direct Modifications
Now that you’ve selected the tool, you can apply the desired color changes to your image. Photoshop allows you to either make direct modifications to the image or use adjustment layers for non-destructive editing. Adjustment layers provide greater control and flexibility, as they can be easily modified or removed without affecting the original image.
4. Fine-Tuning the Color Adjustments for Desired Results
After applying the initial color changes, it’s essential to fine-tune the adjustments to achieve your desired results. Experiment with the various sliders and options within the chosen color adjustment tool to refine the color transformation. Don’t be afraid to play around until you achieve the perfect balance of colors.
Tips and Tricks for Effective Color Changes
To take your color-changing skills to the next level, here are some valuable tips and tricks to keep in mind:
1. Utilizing Layer Masks for Selective Color Modifications
Layer masks allow you to selectively apply color changes to specific areas of your image. By painting on the layer mask with black or white, you can reveal or hide the color adjustments, providing precise control over where the changes are applied.
2. Understanding Blending Modes to Enhance Color Changes
Blending modes in Photoshop offer unique ways to combine and interact with colors. Experimenting with different blending modes can significantly enhance your color changes, creating interesting effects and moods in your photos.
3. Using Adjustment Layers for Non-Destructive Editing
Adjustment layers are a powerful tool for non-destructive editing. By applying color adjustments through adjustment layers, you can easily modify or remove the changes later without affecting the original image. This allows for greater flexibility and experimentation in your color transformations.
4. Utilizing Photoshop’s Color Replacement Tool Effectively
The Color Replacement tool in Photoshop allows you to replace a specific color range with another color. This tool is particularly useful when you want to change the color of an object without altering its texture or details. Play around with the tool’s settings to achieve seamless color replacements.
FAQ (Frequently Asked Questions)
Can I change colors only on specific parts of an image?
Yes, you can! Photoshop provides various selection tools and layer masks that allow you to isolate specific areas and apply color changes selectively.
How can I revert back to the original colors?
If you want to revert your image back to its original colors, simply disable or delete the color adjustment layer(s) you applied. This will restore the original colors without any permanent changes.
Is it possible to change colors in Photoshop without affecting the background?
Yes, it is! By using selection tools, layer masks, and adjustment layers, you can apply color changes exclusively to the desired objects or areas, leaving the background untouched.
What are the common mistakes to avoid while changing colors in Photoshop?
One common mistake is over-saturating or over-adjusting colors, resulting in unrealistic or unnatural-looking images. It’s important to maintain a balance and ensure that the color changes blend seamlessly with the rest of the image.
Conclusion
Changing colors in Photoshop opens up a world of possibilities for your photos. Whether you want to correct color inaccuracies, experiment with new palettes, or create artistic effects, Photoshop provides the tools and flexibility to make it happen. By following the step-by-step guide and implementing the tips and tricks shared in this article, you’ll be well on your way to mastering the art of color changes in Photoshop. Unleash your creativity and transform your images into captivating visual masterpieces!