How to Fix Tub Drain Leak: A Step-by-Step Guide
Introduction
When it comes to our daily hygiene routine, a properly functioning tub drain is essential. However, dealing with a leaky tub drain can be quite frustrating. The constant dripping not only wastes water but can also lead to potential water damage and mold growth. In this comprehensive guide, we will walk you through the process of fixing a tub drain leak, ensuring a hassle-free bathing experience.
Understanding Tub Drain Leaks
Before we delve into the repair process, it’s important to understand the common causes and signs of a tub drain leak. Most often, worn-out gaskets or faulty seals are the culprits. These can occur due to age, wear and tear, or improper installation. Signs of a tub drain leak include a persistent water drip, water stains near the drain, or a foul odor emanating from the drain.
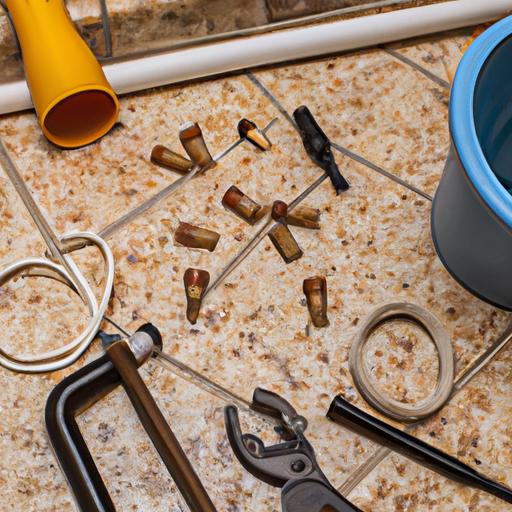
Tools and Materials Needed
To successfully fix a tub drain leak, gather the following tools and materials:
- Plunger
- Screwdriver (flathead and Phillips)
- Wrench or pliers
- Replacement gaskets or seals
- Plumbers putty or silicone caulk
- Teflon tape
- Clean cloth or towel
Having these tools ready before beginning the repair process will save you time and ensure a smooth workflow.
Step-by-Step Guide to Fixing a Tub Drain Leak
Step 1: Preparing for the Repair
Before getting your hands dirty, shut off the water supply to the tub. This can typically be done by turning off the water valves located under the sink or near the tub. Additionally, plug the tub with a cloth or towel to prevent any small parts from falling down the drain during the repair process.
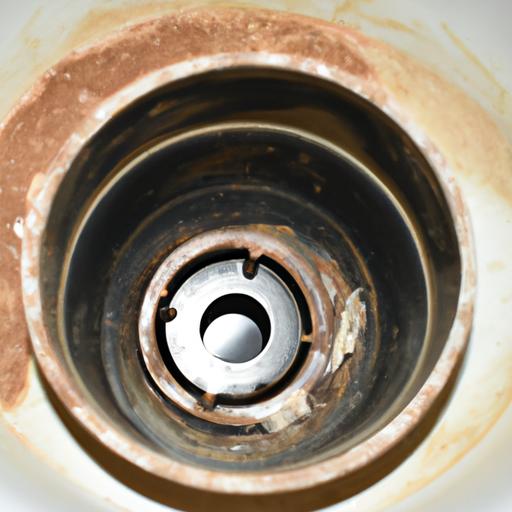
Step 2: Removing the Drain Cover and Stopper
Using a screwdriver, carefully remove the drain cover and stopper. This may involve unscrewing or prying them off, depending on the type of drain. Set these parts aside in a safe place to avoid misplacing them.
Step 3: Inspecting the Drain Components
Inspect the drain components, particularly the gaskets and seals, for any signs of damage or wear. If you notice any cracks, discoloration, or deformation, it’s likely time for a replacement.
Step 4: Replacing Faulty Gaskets or Seals
Using a wrench or pliers, loosen and remove the old gaskets or seals. Replace them with new ones of the same size and type. Apply plumber’s putty or silicone caulk to ensure a watertight seal.
Step 5: Reassembling the Drain Components
Once the new gaskets or seals are in place, carefully reassemble the drain components. Ensure they fit snugly and securely to prevent future leaks. Use a screwdriver or wrench to tighten any screws or fittings as necessary.
Step 6: Testing the Repaired Tub Drain
Now that everything is back in place, it’s time to test the repaired tub drain. Slowly turn on the water supply and observe for any signs of leakage. Run the water for a few minutes and check if the drain is functioning properly. If there are no signs of leakage and the water drains smoothly, congratulations, you have successfully fixed your tub drain leak!
Frequently Asked Questions (FAQ)
Q: Can I use regular caulk instead of plumber’s putty?
A: While regular caulk can work in some cases, plumber’s putty is specifically designed for plumbing repairs and provides a better seal, preventing leaks more effectively.
Q: How often should I replace the gaskets or seals?
A: It is recommended to replace gaskets or seals every few years or as soon as you notice signs of wear or damage.
Q: What if I’ve followed all the steps but the leak persists?
A: If the leak persists after following the repair steps, it is advisable to consult a professional plumber who can assess the situation and provide further assistance.
Conclusion
Fixing a tub drain leak is a manageable task that can save you from potential water damage and costly repairs. By following our step-by-step guide, you can successfully repair your tub drain and restore a leak-free bathing experience. Remember, taking prompt action is key to preventing further complications. So, grab your tools and get ready to bid farewell to that pesky tub drain leak once and for all!