How to Remove Background on Photoshop: A Step-by-Step Guide
Introduction
In the world of design and photography, removing backgrounds from images is a crucial skill. Whether you’re creating a professional product catalog or simply want to enhance your social media visuals, knowing how to remove backgrounds in Photoshop can make a world of difference. With its advanced tools and capabilities, Photoshop has become the go-to software for this task. In this article, we will provide you with a comprehensive guide on how to remove backgrounds on Photoshop, empowering you to create stunning visuals effortlessly.
Understanding the Background Removal Tool in Photoshop
To get started, it’s essential to understand the Background Removal Tool in Photoshop and its capabilities. This powerful tool allows you to precisely select and remove the background from an image, leaving you with a clean and isolated subject. The Background Removal Tool is available in various versions of Photoshop, including the latest ones like Photoshop CC and Photoshop 2021. This means that regardless of the version you have, you can still benefit from this efficient feature.
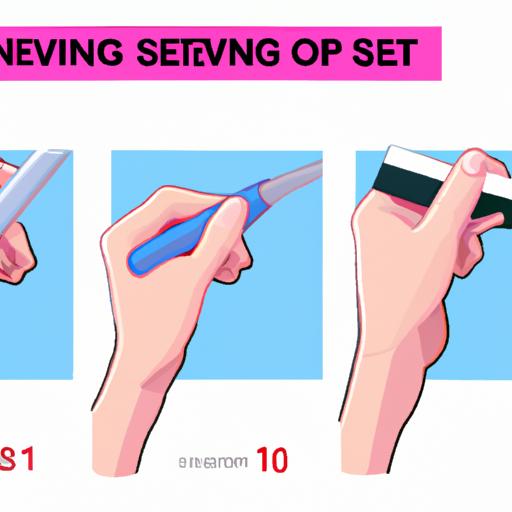
Step-by-Step Guide: Removing Backgrounds in Photoshop
Now let’s dive into the step-by-step process of removing backgrounds in Photoshop. By following these instructions, you’ll be able to master this technique in no time.
-
Opening the image in Photoshop: Begin by launching Photoshop and opening the image you want to work on. You can do this by selecting “File” > “Open” and browsing for the desired image file on your computer.
-
Selecting the Background Removal Tool: Once your image is open, locate the Background Removal Tool in the toolbar on the left side of the screen. It is represented by an icon resembling a lasso with a small square attached to it.
-
Adjusting the tool settings: Before applying the Background Removal Tool, it’s crucial to adjust the settings to achieve the desired results. You can modify parameters such as brush size, tolerance, and edge detection to ensure accurate selection.
-
Applying the tool to remove the background: With the settings adjusted, carefully trace the outline of the subject in your image using the Background Removal Tool. Photoshop will automatically create a selection around the subject based on your tracing.
-
Fine-tuning the selection if necessary: After the initial selection, you may need to refine it further to achieve a seamless removal of the background. Photoshop offers tools like the Magic Wand and Quick Selection Tool to help you add or subtract from the selection as needed.
-
Saving the image with the background removed: Once you’re satisfied with the selection and the background is successfully removed, save your image in the desired format. Photoshop allows you to save your work as JPEG, PNG, or any other compatible format.
Tips and Techniques for Effective Background Removal
To enhance your background removal skills and achieve better results, consider implementing the following tips and techniques:
-
Ensure image quality and resolution: High-resolution images with good lighting and sharp details yield better results when removing backgrounds. Higher image quality allows for more precise selections and smoother edges.
-
Utilize adjustment layers and masks: To refine the background removal, utilize adjustment layers and masks. These tools enable you to make further adjustments to the image without permanently altering the original pixels, giving you more control over the final result.
-
Experiment with different selection tools: While the Background Removal Tool is powerful, don’t hesitate to explore other selection tools in Photoshop. The Magic Wand, Quick Selection Tool, and Pen Tool can be handy in specific situations, providing alternative methods for background removal.
Frequently Asked Questions (FAQs)
-
Can I remove complex backgrounds with Photoshop?
Yes, Photoshop is equipped with advanced tools that allow you to remove complex backgrounds with precision. By combining different selection tools and techniques, you can achieve impressive results even with intricate backgrounds. -
Is it possible to retain the original image quality after removing the background?
Absolutely! When removing backgrounds, Photoshop works non-destructively, meaning it preserves the original image quality. Saving your work in a high-quality format ensures that the subject remains crisp and clear without any loss in resolution. -
Are there alternative methods to remove backgrounds in Photoshop?
Yes, while the Background Removal Tool is efficient, Photoshop offers several other methods for removing backgrounds. These include the Magic Wand Tool, Quick Selection Tool, and Pen Tool, each with its own advantages depending on the image and desired outcome.
Conclusion
Mastering the art of removing backgrounds on Photoshop opens up a world of possibilities in design and photography. With the step-by-step guide provided in this article, you now have the knowledge and tools to seamlessly remove backgrounds and create visually captivating images. Remember to experiment with different techniques, utilize adjustment layers, and practice regularly to refine your skills. By harnessing the power of Photoshop, you can take your visual creations to new heights. So why wait? Start removing backgrounds today and unlock your creative potential!